Blank Space
Lancelin Island


Click images to enlarge.
All images can be resized

General Setup of My Frames
General Setup of Frames

Pic 2 of Frames
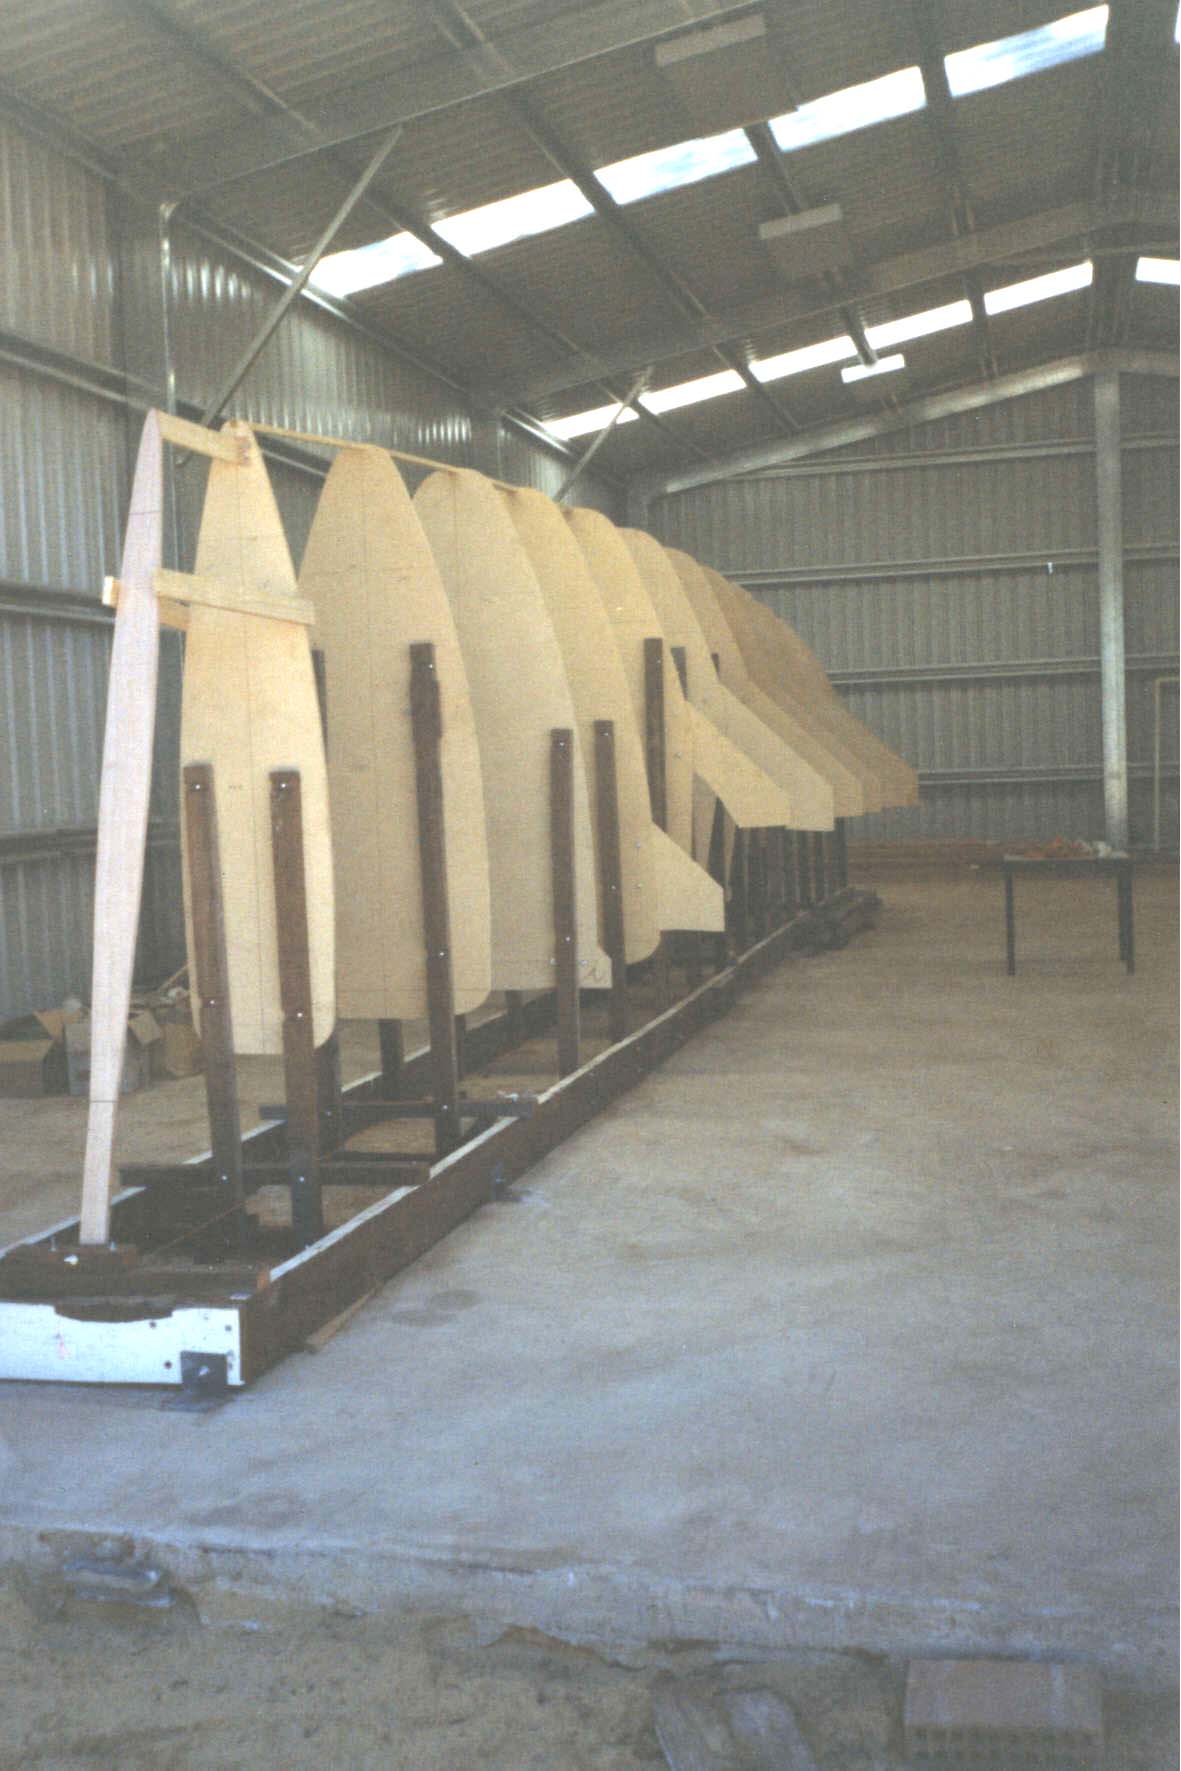
Another Shot of the Frames

Plumb Bob
Method used to true up the Frames.
Height adjustment, Ply swivel finger cannot be seen. Not a good pic, light damaged
Setting up the Strongback and Frames

The strongback is simply a means of holding your frames in a fixed position during planking. It needs to be solid enough to stand the forces generated during construction. I constructed mine from Jarra, but pine would do just as nicely, and its lighter. You will already have the temporary frames cut out from say chipboard and erecting them vertical and correctly oriented is something of a challenge but found this was the best method.
  • Bolt 2 parallel timbers down to the shed concrete floor, I think mine were about 800mm apart. The wider apart the better, but some frames are very narrow (frame 1, 2 and maybe 3) and to position these additional cross pieces will need to be added to the strongback.
  • Run a string line down the center of the strongback, put as much tension on it as you can to keep it real straight
  • Erect uprights at one of the stations, say pick something like frame 3 or 4 to start with as its smaller than those amidships so easier to handle, make sure the uprights are dead vertical (sideways on).
  • All your temporary frames, and any permanent ones for that matter, should have a centerline and the waterline clearly marked. Lift the frame into position onto the 2 uprights and clamp it in approximately the right position. Hang a plumb bob from the top of the frame (on the centreline) and adjust the clamps so the plumb bob only just touches the centreline stringline, the plumb bob line should of course also line up with the centreline on the frame.

    Height adjustment

    To get the correct height I found this worked best.

  • Cut a piece of 50mm x 25mm timber the exact length you want the waterline above the strongback centreline. Screw onto to the end of this timber a small piece of ply about 75mm long, a bit like a finger, this piece of ply needs to be fastened with a single screw so it can be swivelled from side to side with firm pressure.
  • Clamp this timber to the frame about 50mm to one side of the centre line. The frame can now be moved very carefully by slightly releasing the pressure on the frame holding clamps the swivel finger should just touch either the top or bottom of the strongback centreline when moved accoss and at the same time the plumb bob should line up with the centre line of the frame and just touch the strongback centreline, when it does drill the frame and uprights and bolt them through, once you have done a couple of frames you do get quick at it.
  • Keep going until every frame is erected - now its really looking like an upside down boat.
Once finished get a long battern and check the position and fairness of the frames by simply laying the battern accross the frames at various positions. If there are any problems they need to be sorted completly before moving on.


Blank Space
     Photo Gallery - External Construction - Internal Construction - Launch & General - Sailing - Specifications